Posted on

Vinyl Cutter/Plotter Re-wiring

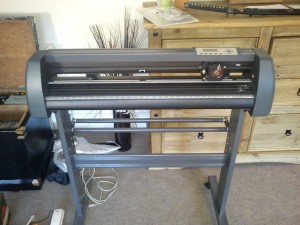
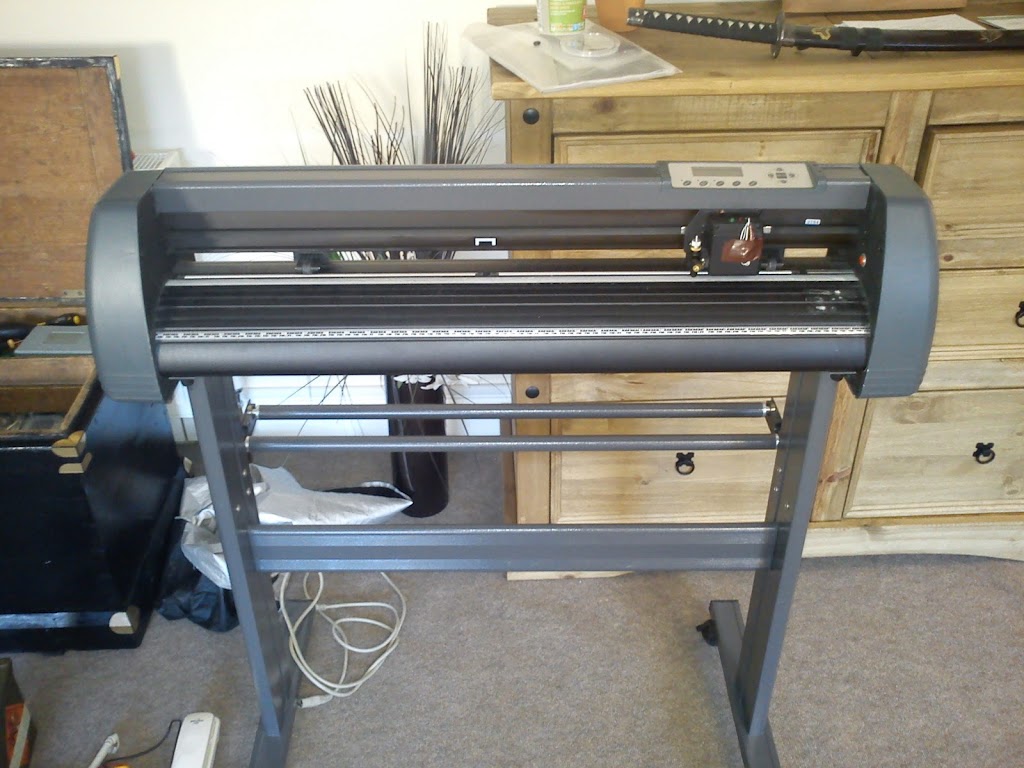
After I re-wired Braunston Ltd’s vinyl cutter for the 5th time they finally admitted defeat and purchased a new one from CTR Lasers. This meant that I was free to mess around with the scrapped one.

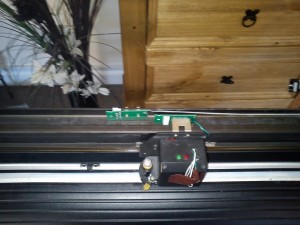
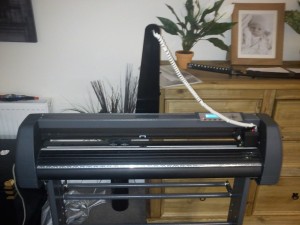
As it turns out the majority of the problems were related to the cable run in the top beam of the machine. Rather than having a proper cable track it was just a piece of ribbon cable with a piece of tape measure acting to keep the shape. The head of the machine(moving bit) and frame mount for the cable were VERY close with all the PCB and ribbon cable sockets, keeps snagging on the exposed solder and splitting the cable. This caused shorts and intermittent signal and completely messed the running of the machine. 

You can see the green PCB above. As you can see from the patchy wiring on the head this has been worked on before. We have also added the green and red LEDs on a previous rebuild to help with problem identification. (red is pen up, green pen down, no light snapped wires!).

Rather than re-build it as before I decided to take the wiring external. Not ideal on most machines but frankly I have got board of replacing the same parts every couple of months.

Although there was a ribbon cable in there originally it was only wired in to two cables that activated the solenoid in the head. Moving this wiring elsewhere (with better quality wire, the stuff in there you can snap with 2 fingers) is nice and simple, the only problem is letting the head move without damaging the wire.

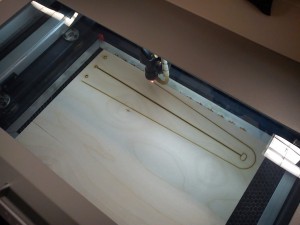
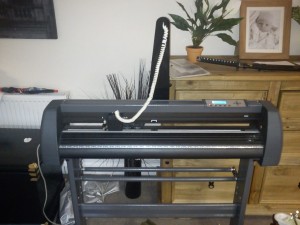
A quick trawl through the parts bin threw up an old telephone with a nice springy handset cable. After laser cutting a piece of ply…

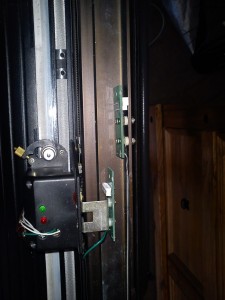
…and a covering of black vinyl  the centre cable “pylon” was sorted. The slot in the middle is a cable run.

I scavenged the cable sockets from the handset and base of the phone and wired them in to the machine at the top of the pylon and on the head. It now has a cable that can be unplugged and you never know, that may prove useful!

Everything bolted back together and it runs really well, although anything above 150mm/s makes the cable wobble about in a slightly worrying manner. The machine has now been commandeered by my wife for her business and should provide quite a bit of service before we have another problem.
Posted on

Bus!

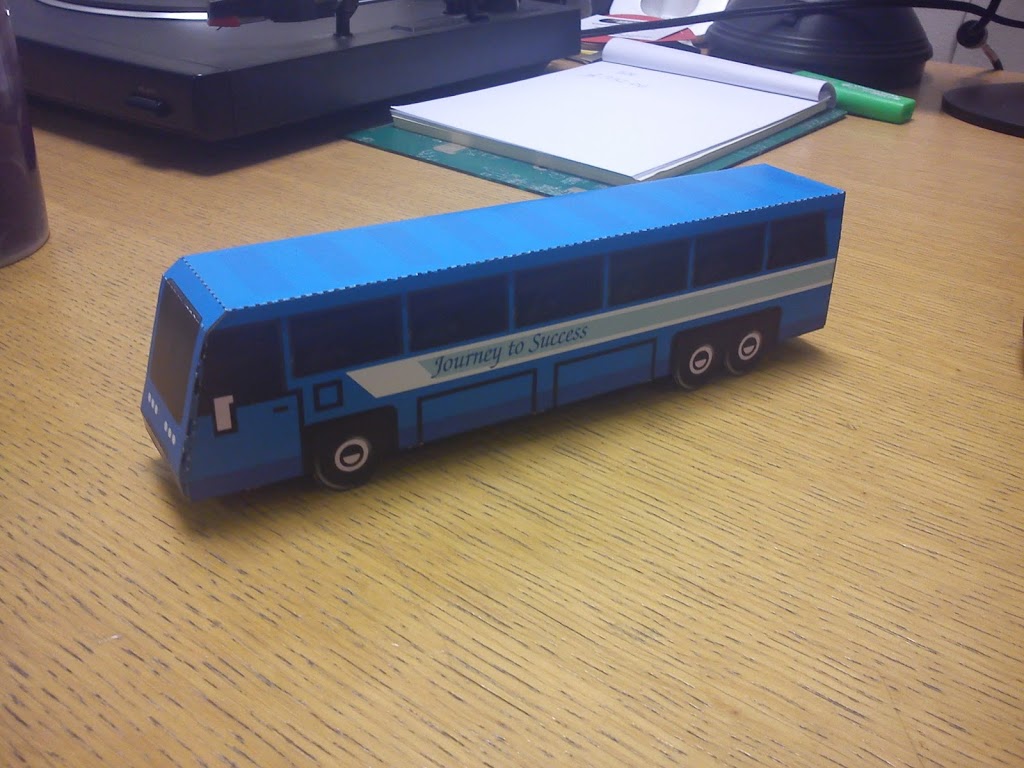
Recent commission – card bus / coach. Really simple design that will be branded up and possible personalised per recipient. It will be supplied flat to be constructed by the person receiving it so it had to be a simple tab and slot design.

Posted on

DTG

I have an old Epson D92 that we used for dye sub printing. This has now been superseded so I get to take it apart! the plan is for a simple Direct To Garment system which I plan to document and publish the laser files on Thingiverse.

So far we have torn down the printer and it is basically modular. There is the main beam which the heads run on and contains the control board, the power supply and a stepper motor to drive the paper, or in this case platen. the only issues I can foresee is the paper trigger timing and making sure the drive is powerful enough to pull the platen along. I plan to design with adjust-ability in mind so hopefully ironing out problems won’t be too tricky.

The printer is an older model however the current Epson S21 is practically identical internally so modifying the design for this should not be too difficult.

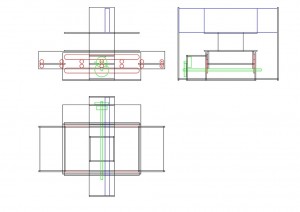
Below is the first sketch, and this has already been replaced by a newer improved version! It is based on 4mm ply and has no consideration of joints, bracing and in places basic physics.

Posted on

Fridge Parts

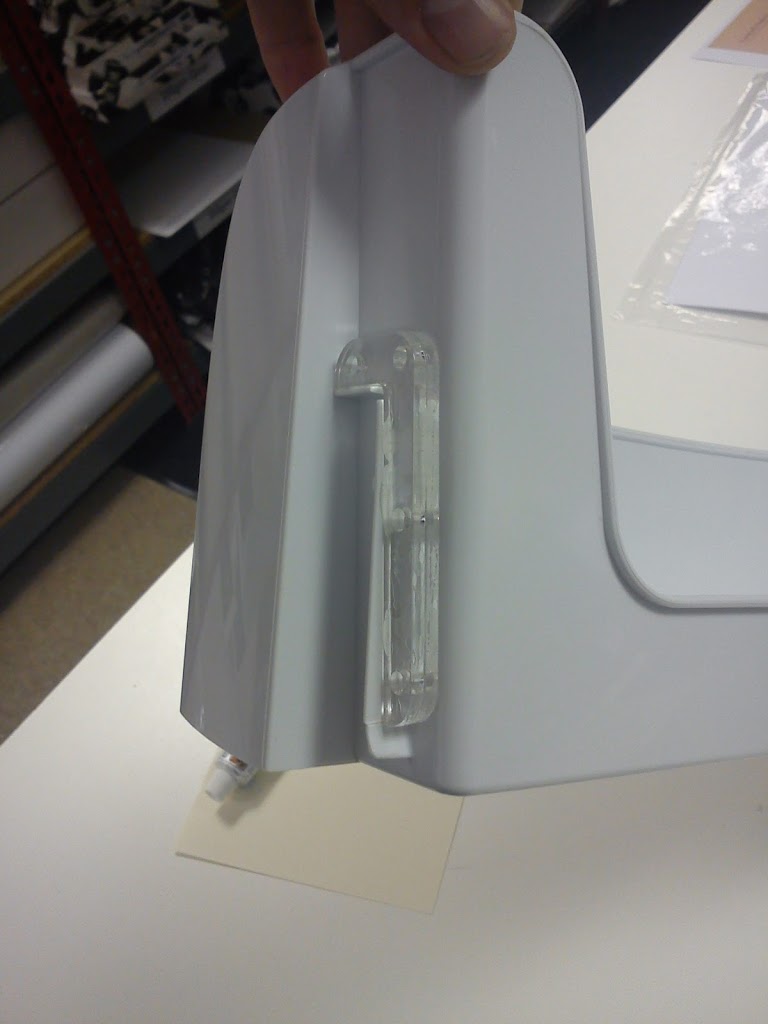
Another emergency fix – this time a bracket for a fridge tray.


The original was a really thin piece that has snapped and broken away over the years. We stuck all the bits we had back in to place and reinforced it with some cut acrylic. Holes have been cut in the acrylic in case we need to drill and bolt later. Just in case!
Posted on

Victorian Gentleman’s Travelling Electronics Case

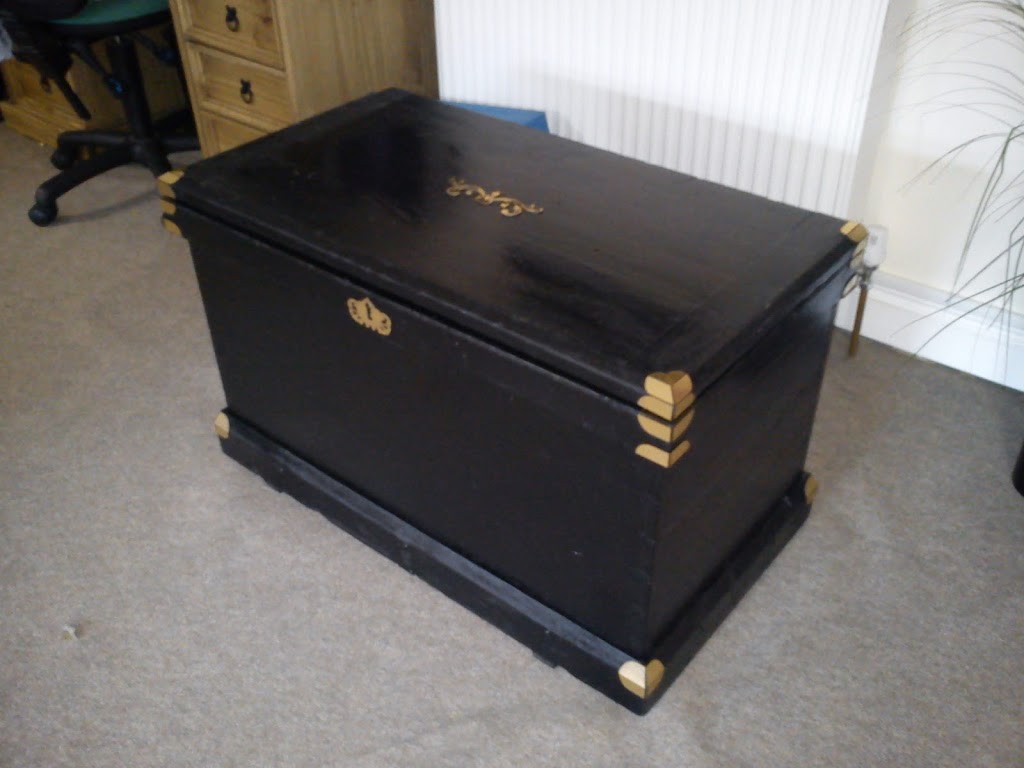
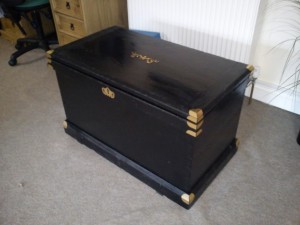
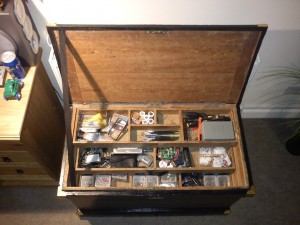
I was fortunate enough to acquire a large wooden trunk to store some of my kit in. It was in a very sorry state so a tub of black paint and some laser cut corner pieces later and we have the Victorian Gentleman’s Travelling Electronics Case, perfect for quick jaunts by steam ship or dirigible! Sorry for the lack of before pictures, I had nearly finished before I remembered!

I have some handles on the way but they have not arrived yet.


Not much to say on a technical note other than a cheat for sticking everything together. Rather than cutting everything then applying glue or similar I backed the brass engraving laminate with double sided industrial tape then cut it. Made fitting really quick as I could just peel and stick.